 Written by
Most people hunting for a Bannerbear alternative are not unhappy with the API; they are unhappy with the ceiling. Template APIs are brilliant at merging a headline into a fixed layout a thousand times. However, the layout itself stays frozen: every image is the same design with different words. This post walks through a different model, where an AI agent designs each image on a live canvas, and the “API” is simply a permanent image URL that re-renders whenever the design changes. It is how we produce every cover on this blog.
What Bannerbear does, and where the ceiling is
Bannerbear positions itself as an API for automated image and video generation: you build a template in its editor, then call the API with a template ID and a list of modifications (“set the title layer to this text”), and it returns the finished image. Integrations with Zapier, Airtable, and WordPress make it genuinely easy to wire up, and for high-volume merge work such as certificates, ecommerce banners, or localized ads, that model is exactly right.
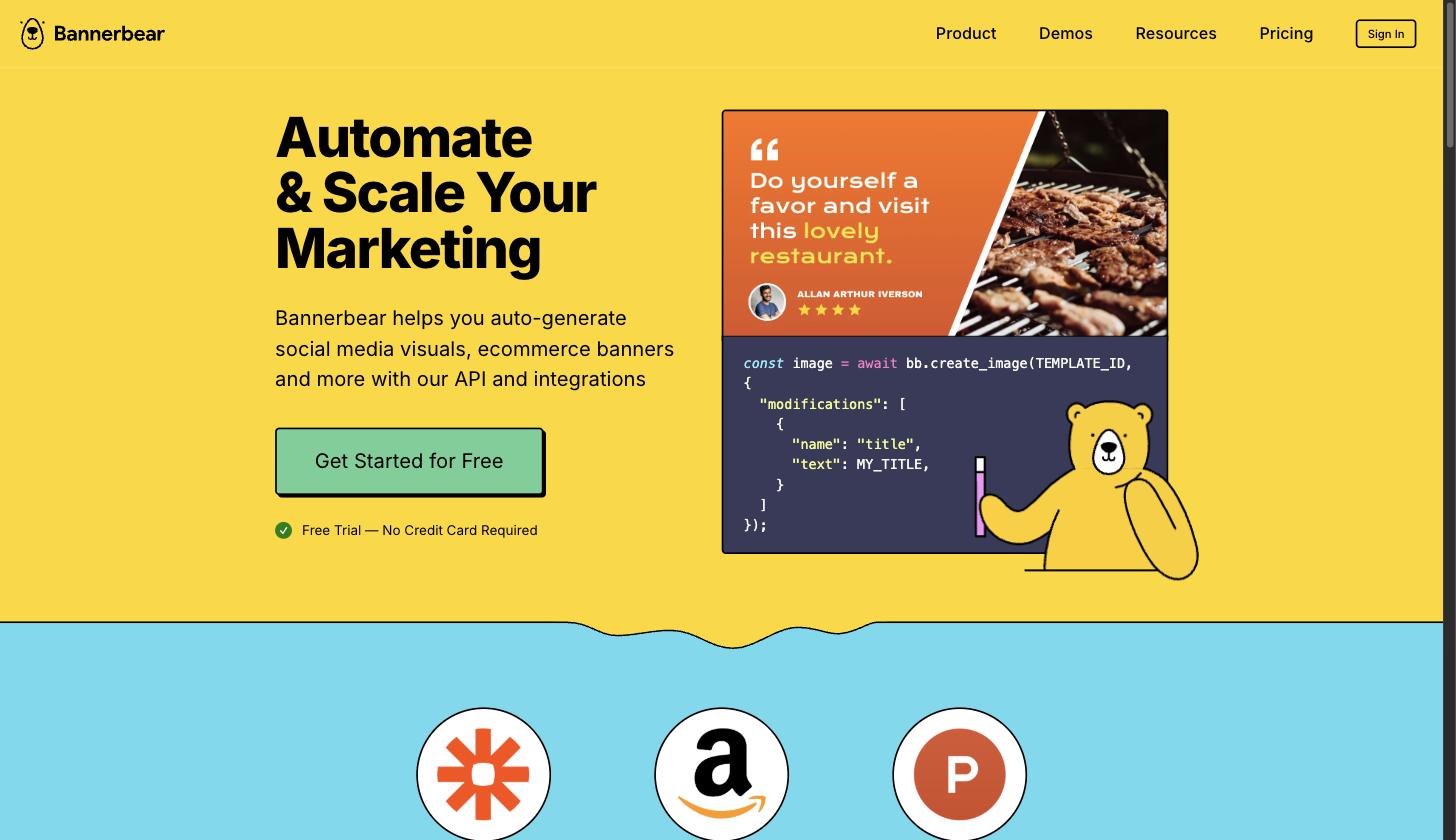
The ceiling appears when your images should not all look the same. A blog cover for a tool comparison wants logo tiles; a tutorial wants a terminal snippet; a release note wants feature cards. In a template API, each of those is a separate template you design by hand up front. The modifications can change text and images, but nothing restructures the layout to fit the content.
The agent-native alternative: templates that redesign themselves
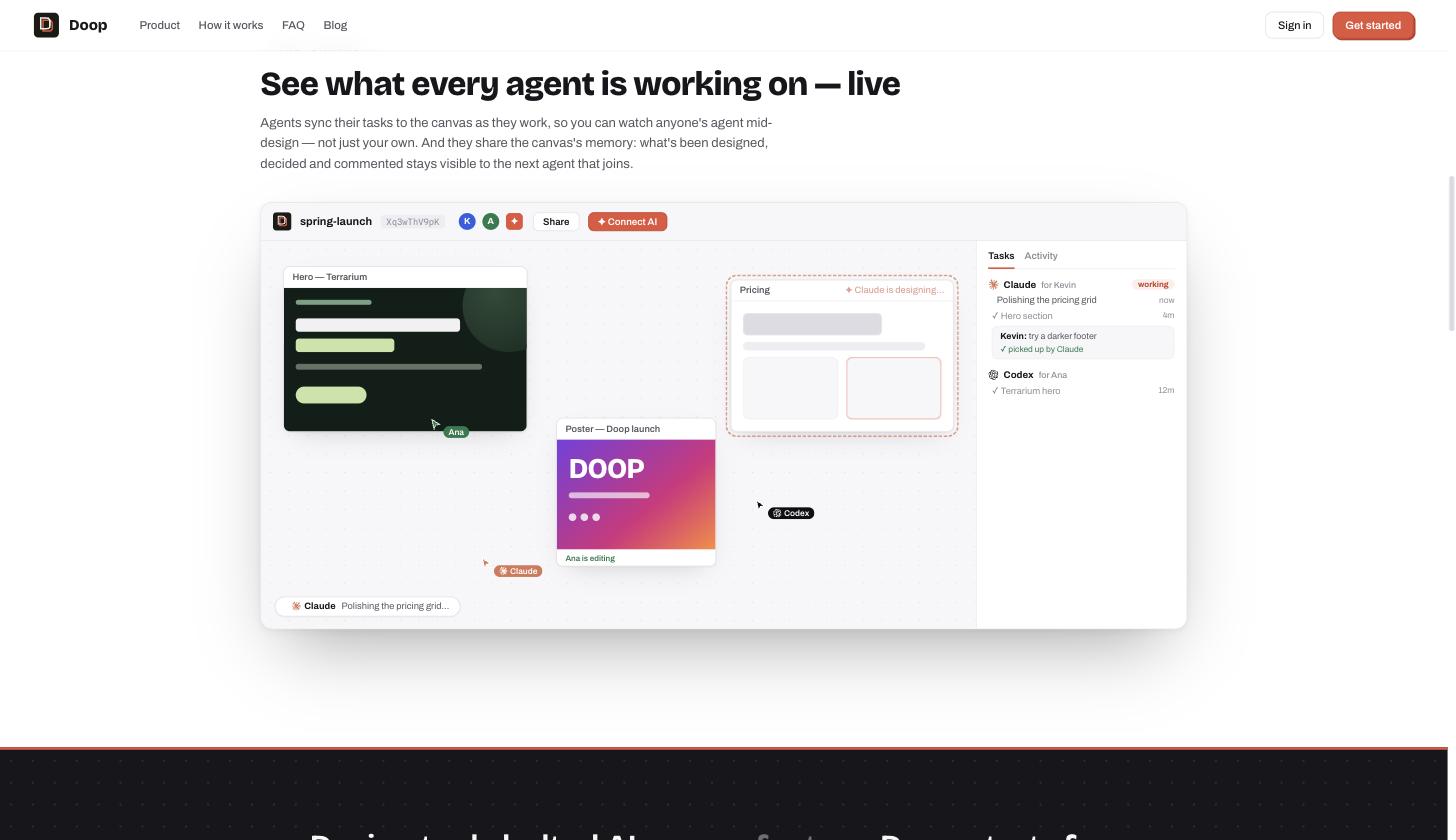
Doop is a multiplayer design canvas where AI agents are first-class users. Feature images live on a canvas as template frames, each one a complete HTML document. Instead of calling an API with merge fields, you point an agent (Claude Code connects with one command) at the canvas and it duplicates a template, rewrites the copy, swaps the logos, and, when the content calls for it, changes the layout: an arrow diagram for a comparison, an icon row for a roundup, staggered cards for a changelog.
The distribution side stays as simple as an API. Every frame has a permanent public image URL that re-renders the current design on demand. Hotlink it as your og:image and it stays current forever; or download it once and upload it to your CMS, which is what we do for WordPress featured images.
The exact workflow behind this blog’s covers
Every cover on this blog is produced this way, so here is the real pipeline, step by step. The key is that MCP does not just let the agent design; it gives the agent direct access to the finished image and to WordPress, so the whole loop runs without a human copying files around.
Step 1: Connect the agent to the canvas
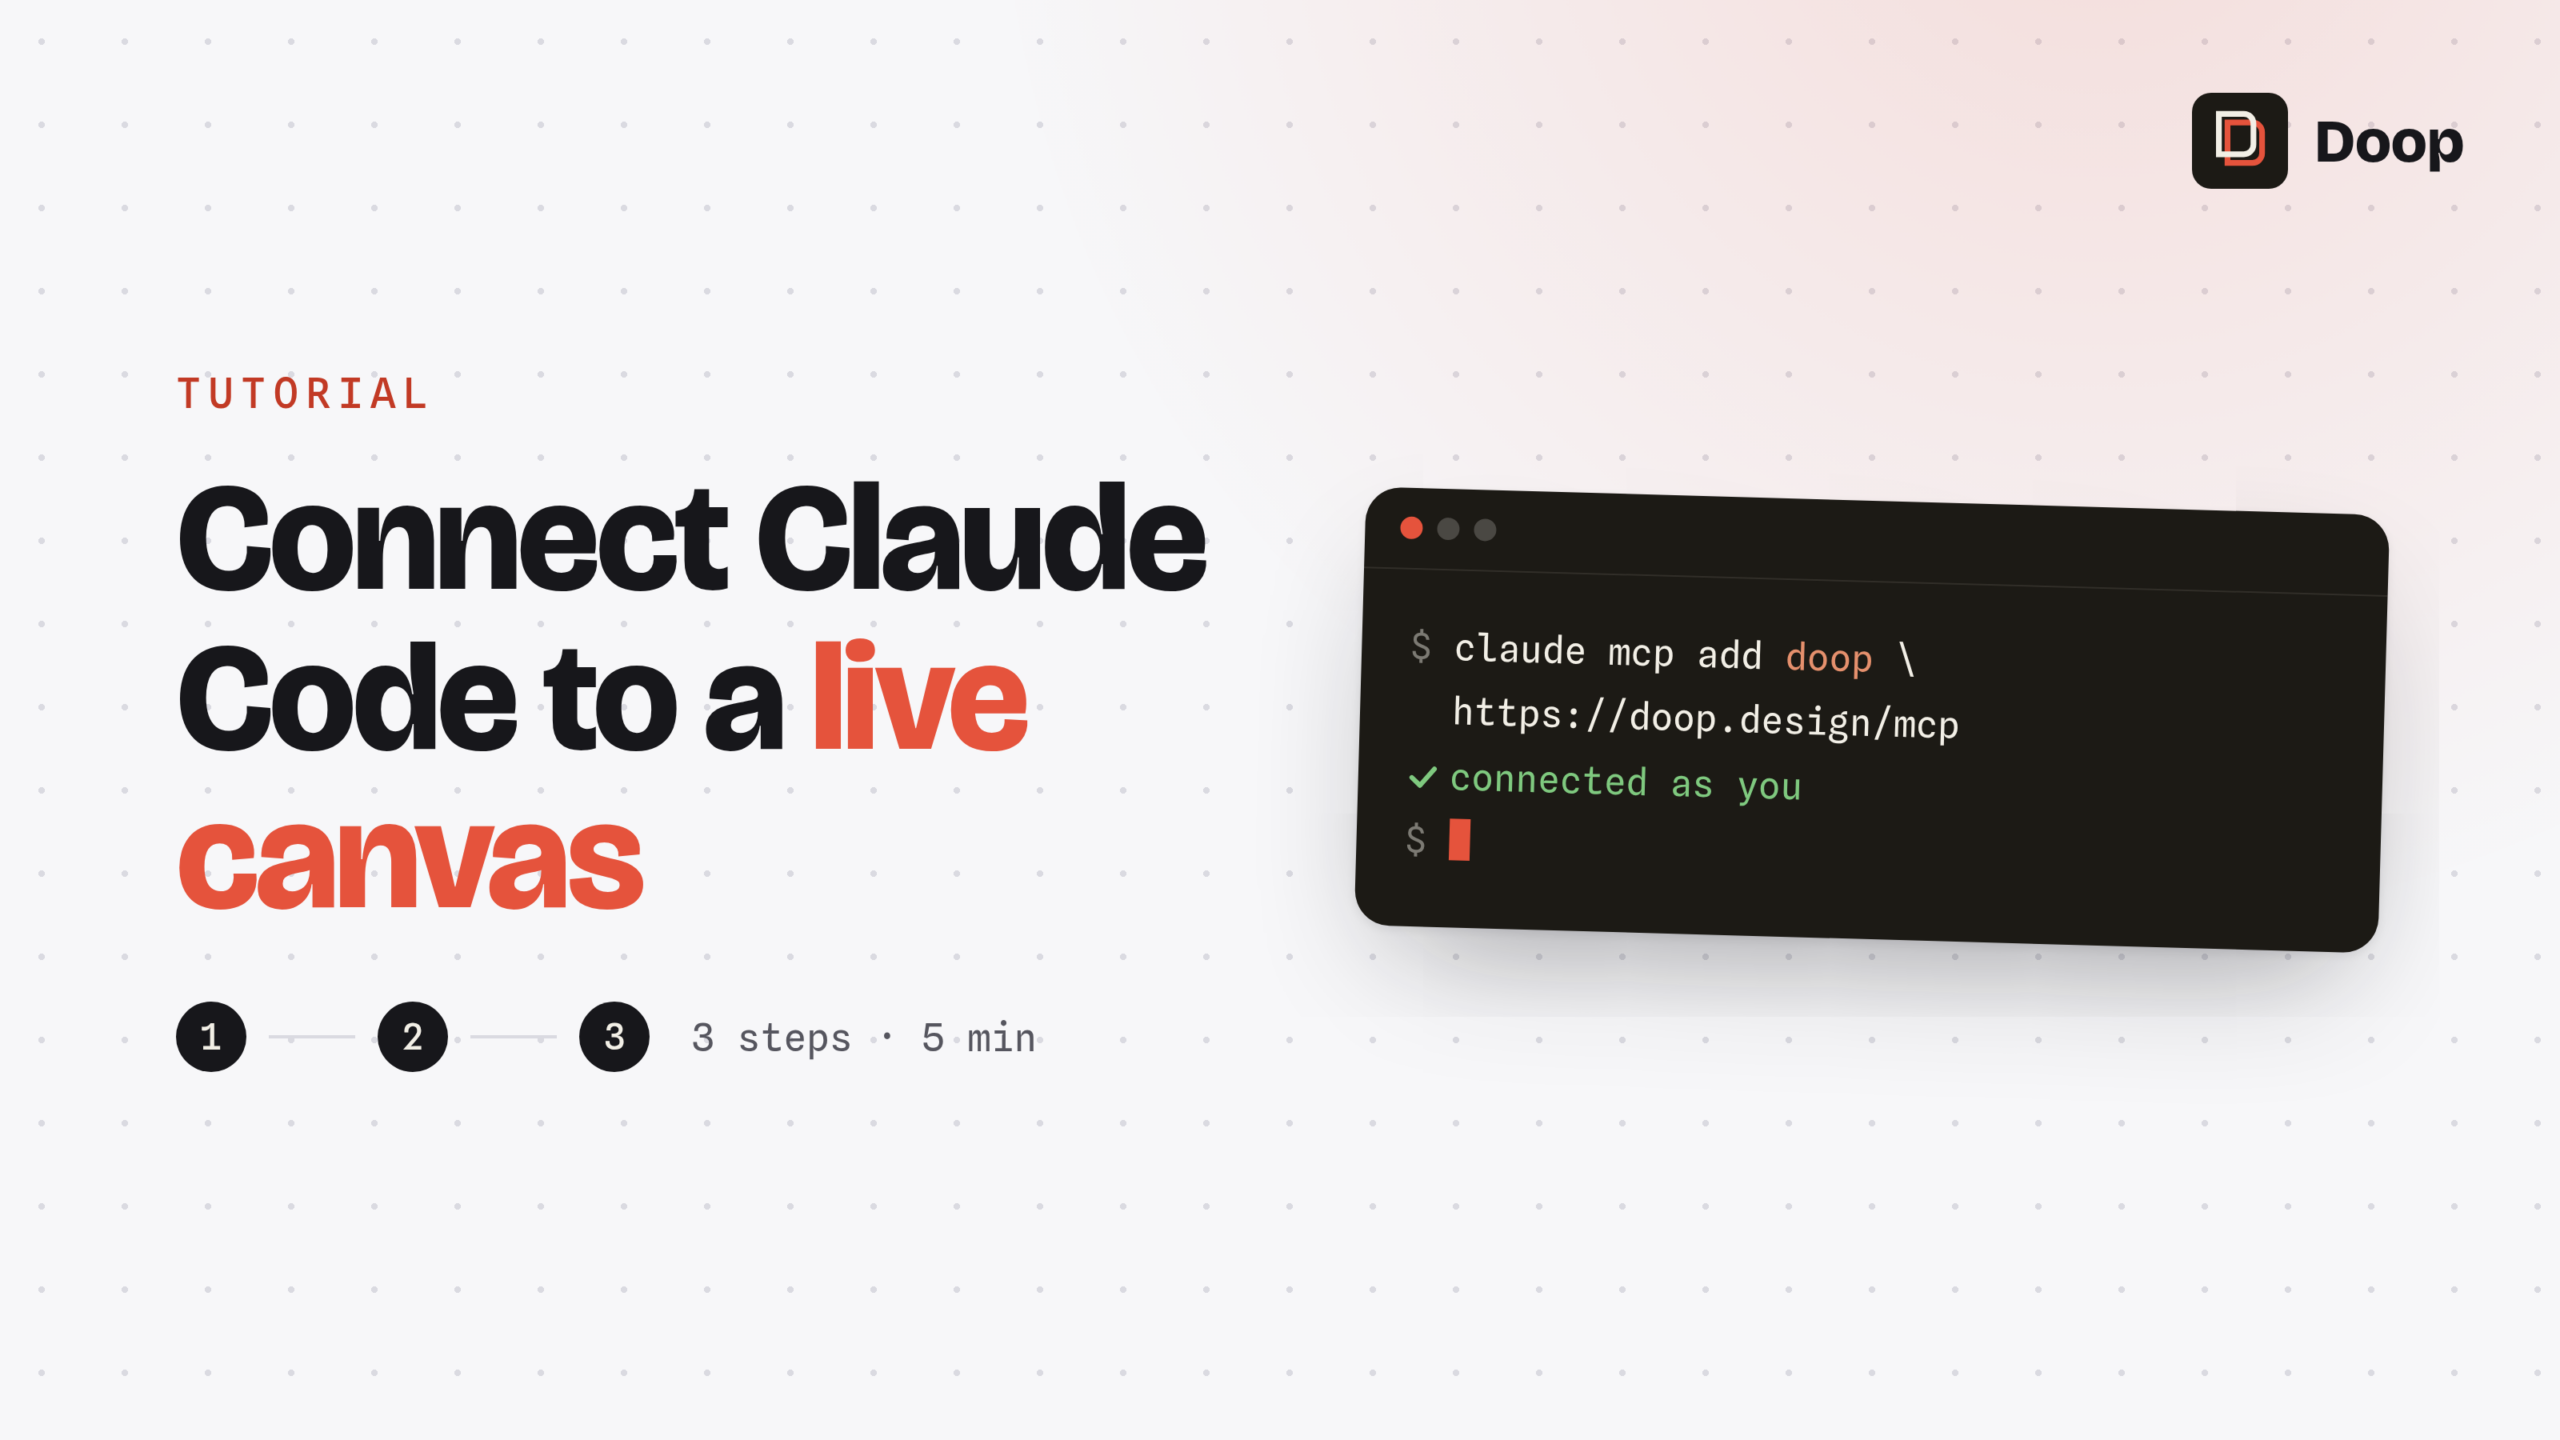
One command in the terminal:
claude mcp add --transport http doop https://doop.design/mcpClaude Code opens a browser window, you approve with OAuth, and the agent joins the canvas as you. From now on it has real design tools: creating frames, streaming HTML into them, editing them in place, and screenshotting them.
Step 2: Establish the style once
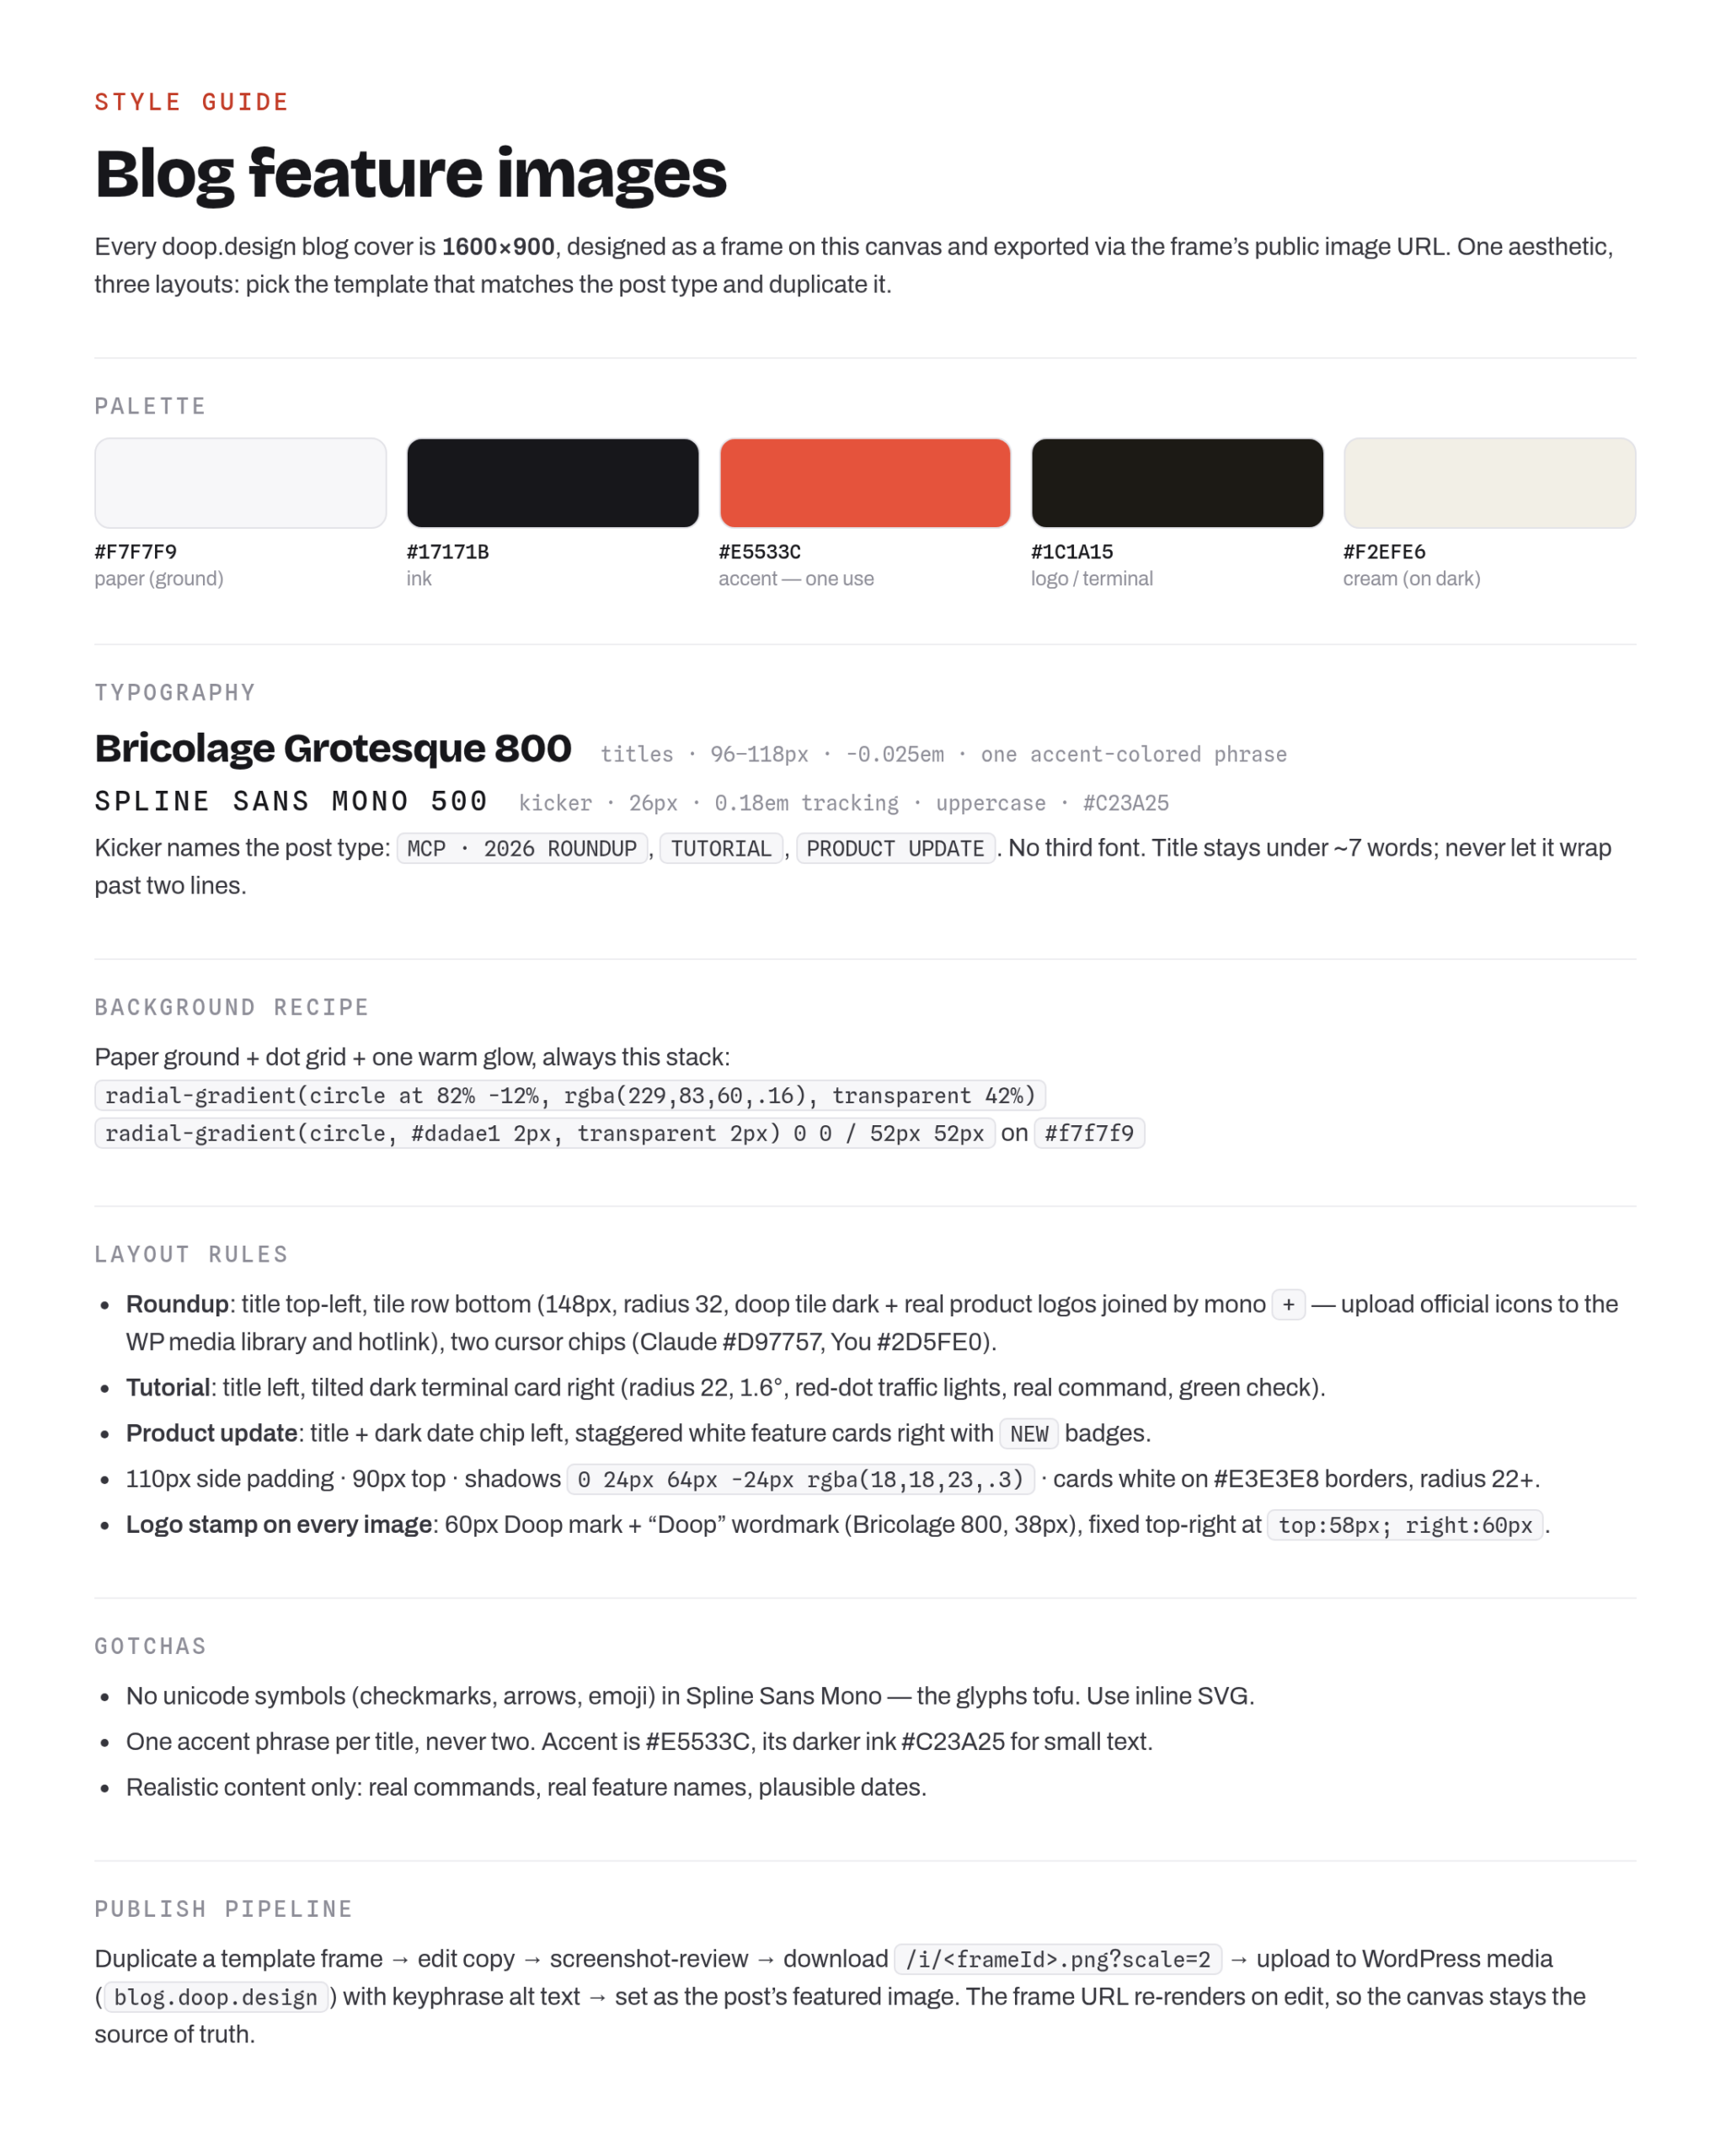
Our canvas has a pinned style-guide frame documenting the palette, the two fonts, the exact background recipe, and layout rules for each template type. Any agent that joins later reads it first, so every image stays on-brand without a human enforcing it.
Step 3: Keep templates as live frames
Next to the style guide sit three template frames: a tool roundup, a tutorial layout with a terminal card, and a product-update layout with feature cards. Each is a complete HTML document, which means an agent can restructure it, not just fill slots.
Step 4: The agent adapts a template per post
For a new post, the agent duplicates the right template and rewrites it over MCP: append_frame_html streams a new design in chunks that viewers watch build up, and edit_frame_html makes surgical find-and-replace edits, like swapping a title or a logo tile. When we covered five tools, the agent even fetched each tool’s official icon and placed them in the tile row.
Step 5: The agent reviews its own work
Before anything ships, the agent calls get_frame_screenshot and judges the render: clipped content, weak contrast, a glyph the font cannot draw. It fixes what it finds and looks again. This self-review loop is what template APIs fundamentally lack, and it catches real bugs; ours once caught a checkmark character rendering as a hollow box and replaced it with an inline SVG.
Step 6: Straight from canvas to WordPress
Here is where the loop closes. Every frame has a permanent public render URL, so the same agent downloads the finished image at 2x and pushes it to the WordPress REST API in one breath:
curl -o cover.png "https://doop.design/i/<frameId>.png?scale=2"
curl -X POST https://blog.example.com/wp-json/wp/v2/media \
  -u "user:app-password" \
  -H "Content-Disposition: attachment; filename=cover.png" \
  --data-binary @cover.png
Then it sets the alt text and attaches the image as the post’s featured image via the same API. No export dialogs, no drag and drop: the agent designed the image, checked it, and published it, end to end.
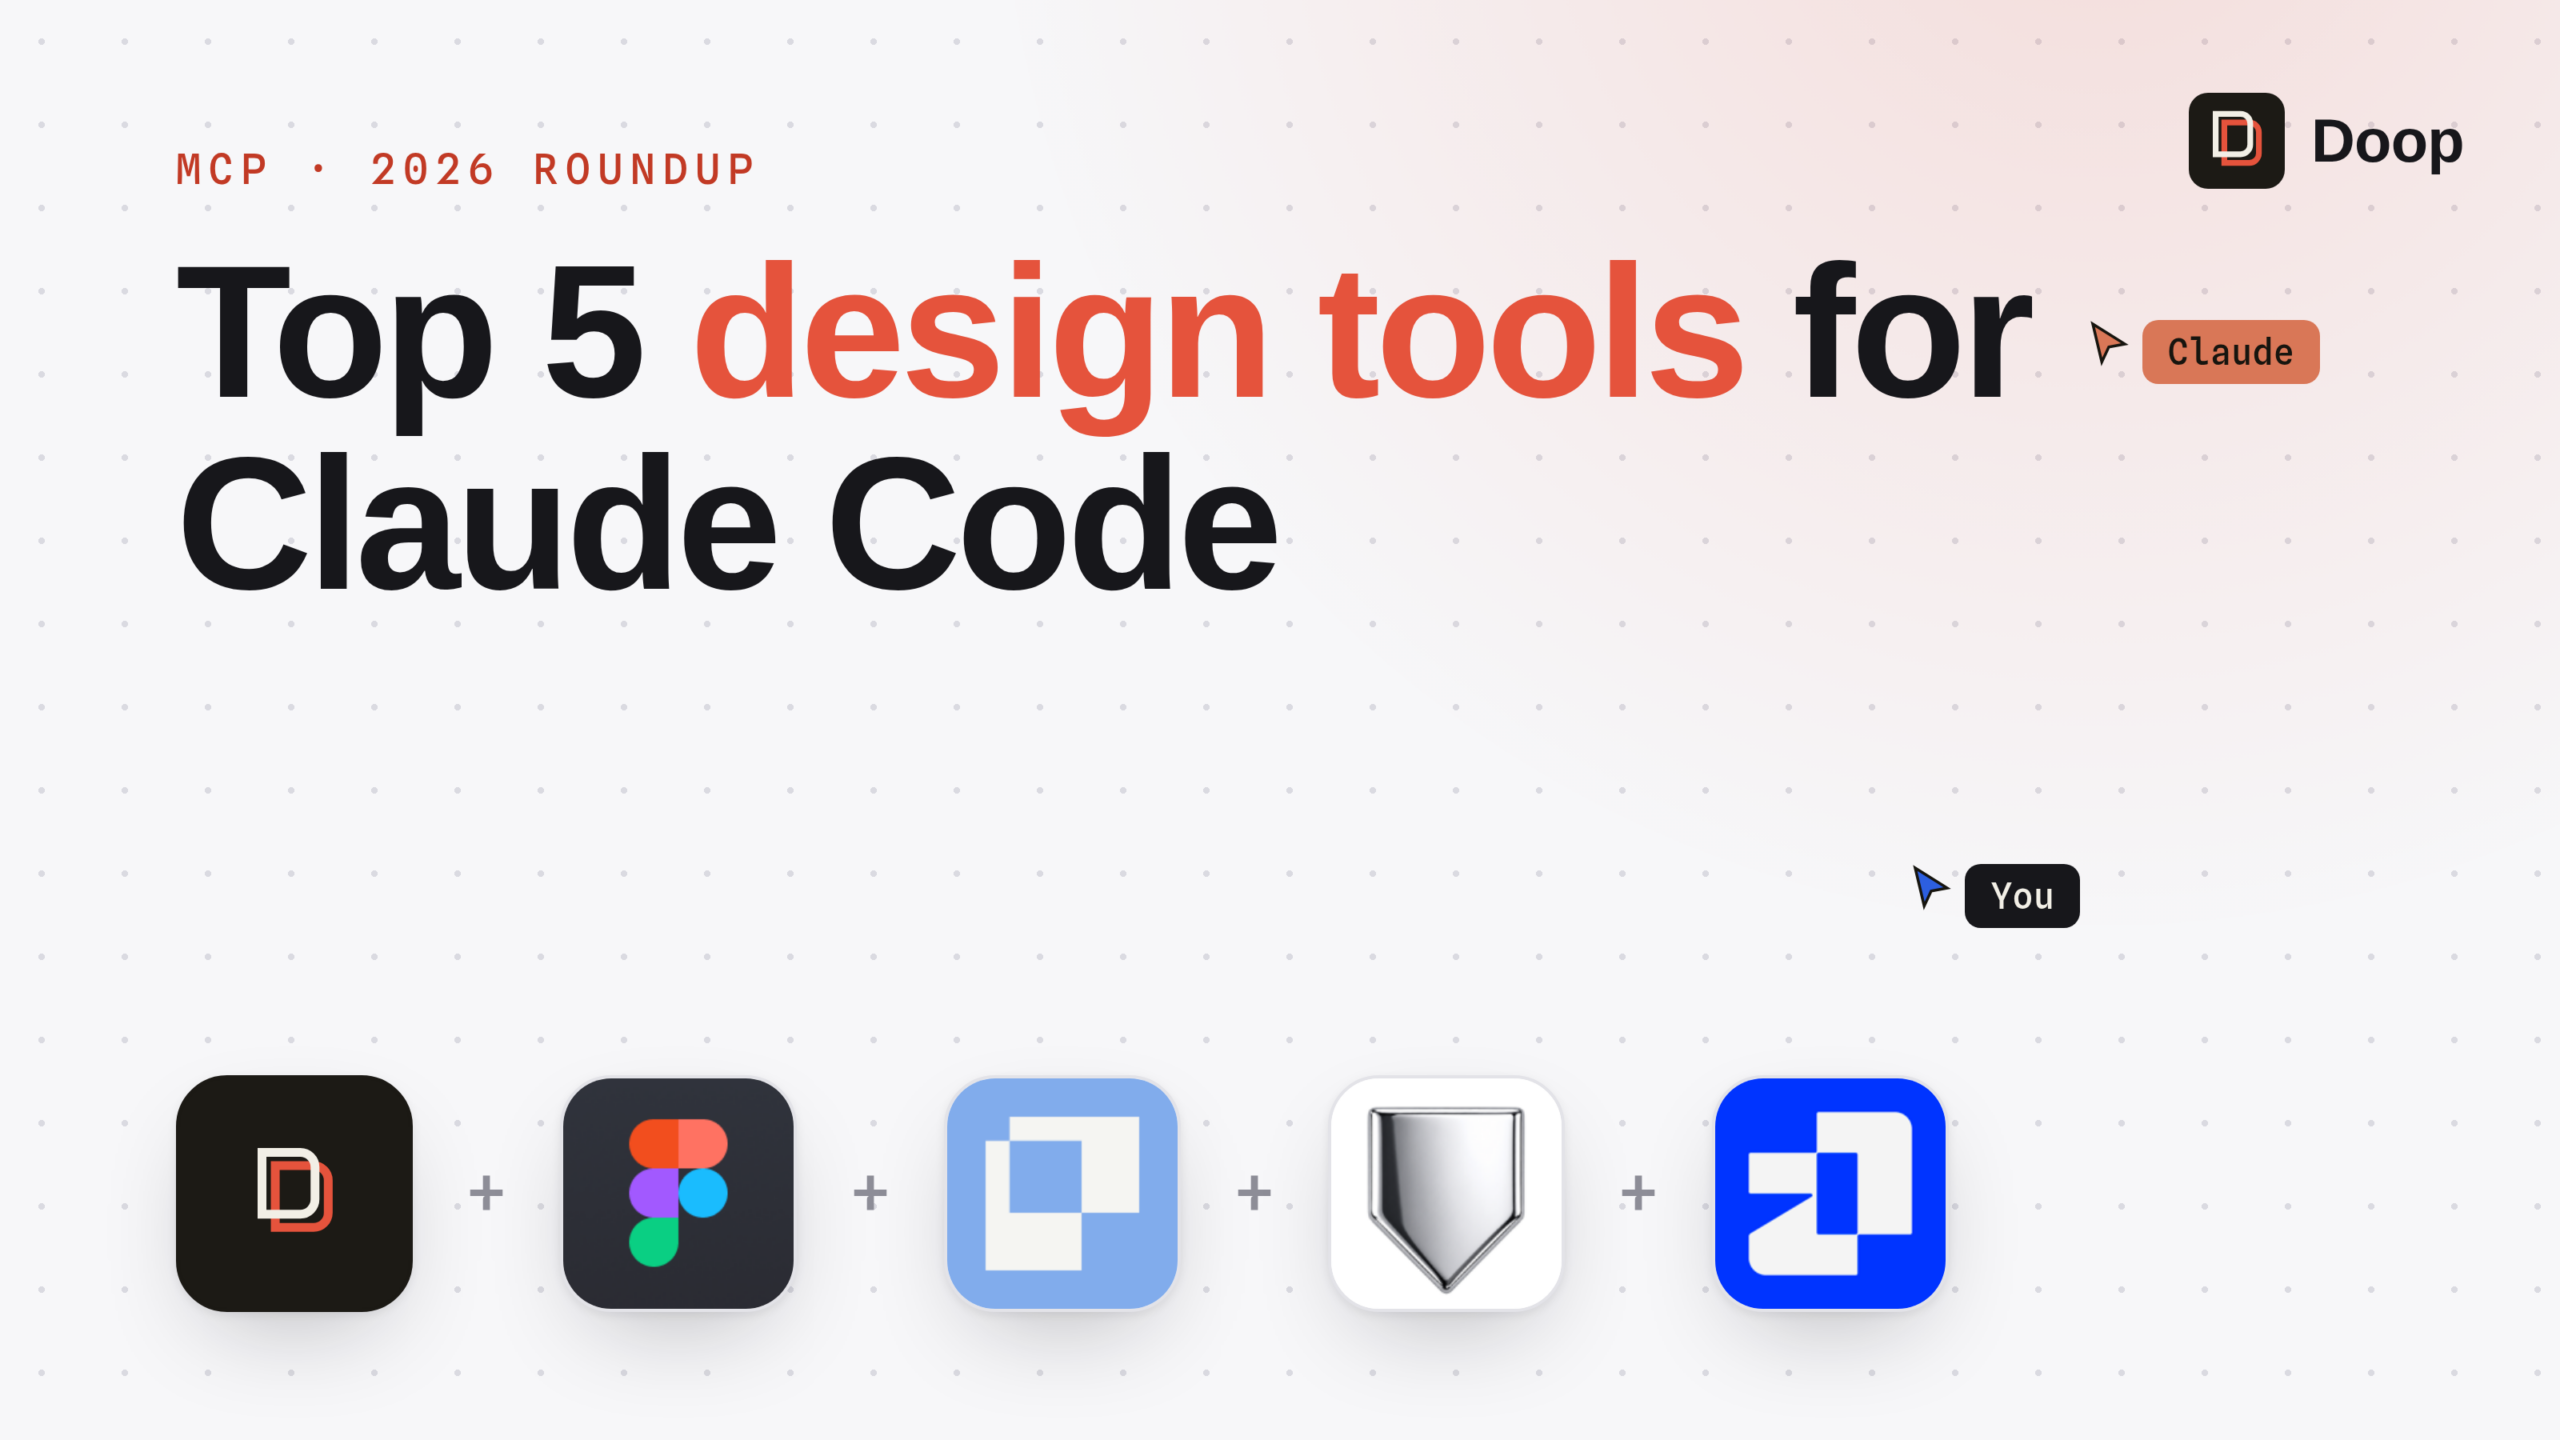
One more property falls out for free: when we changed the logo stamp across all templates, every hotlinked render URL began serving the updated design immediately, because the URL re-renders the current frame.
When Bannerbear is still the right call
Honesty helps here. If you generate thousands of images per day from database rows, need strict determinism, or want a contract-stable REST API with per-image credits, a template API like Bannerbear remains the better tool. The agent-native canvas wins when volume is moderate and design quality per image matters: blog covers, launch cards, social announcements, comparison graphics.
Bannerbear vs. an agent-native canvas
| Bannerbear | Doop | |
|---|---|---|
| Template | Fixed layout, merge fields | Live HTML frame an agent can redesign |
| Filling it | API call with modifications | Agent rewrites copy, logos, layout |
| Output | Generated image per API call | Permanent URL that re-renders on change |
| Review | None built in | Live canvas, comments, agent self-review |
| Best at | High-volume programmatic merge | On-brand, content-aware editorial images |
Frequently asked questions
Can this replace an og:image API? For a blog or product site, yes: hotlink the frame’s render URL as your og:image and it stays current with the design. For thousands of unique data-driven images per day, use a template API.
Which agents work? Any MCP-capable agent: Claude Code, Codex, Cursor, Gemini CLI. The canvas connection is one command, and the agent designs with its own judgment rather than filling slots.
What does it cost? Doop is free to start, and there are no per-image credits; you pay for the agent’s model usage you already have.
See the covers this pipeline produces across our blog, read how the whole setup came together in the August update, or open a canvas and ask your agent for a feature-image system of your own.